The new dashcam for the car is here and we are very happy. You finally have more safety when driving, parking monitoring and tangible evidence in the event of an accident. But before you can start filming, the dashcam must first be attached to the car and the electronics connected. If the operating instructions seem too long and complicated, we have a short, clear guide here to help you install the dashcam.
Dashcam installation: What needs to be done?
There are many different dashcams, but the installation of a dashcam is similar in many respects for most models. Depending on whether you have one or more cameras and want to use the car camera for surveillance when parked, you must carry out the following steps:
- Position the dashcam in the vehicle
- Connect power supply / hide cables
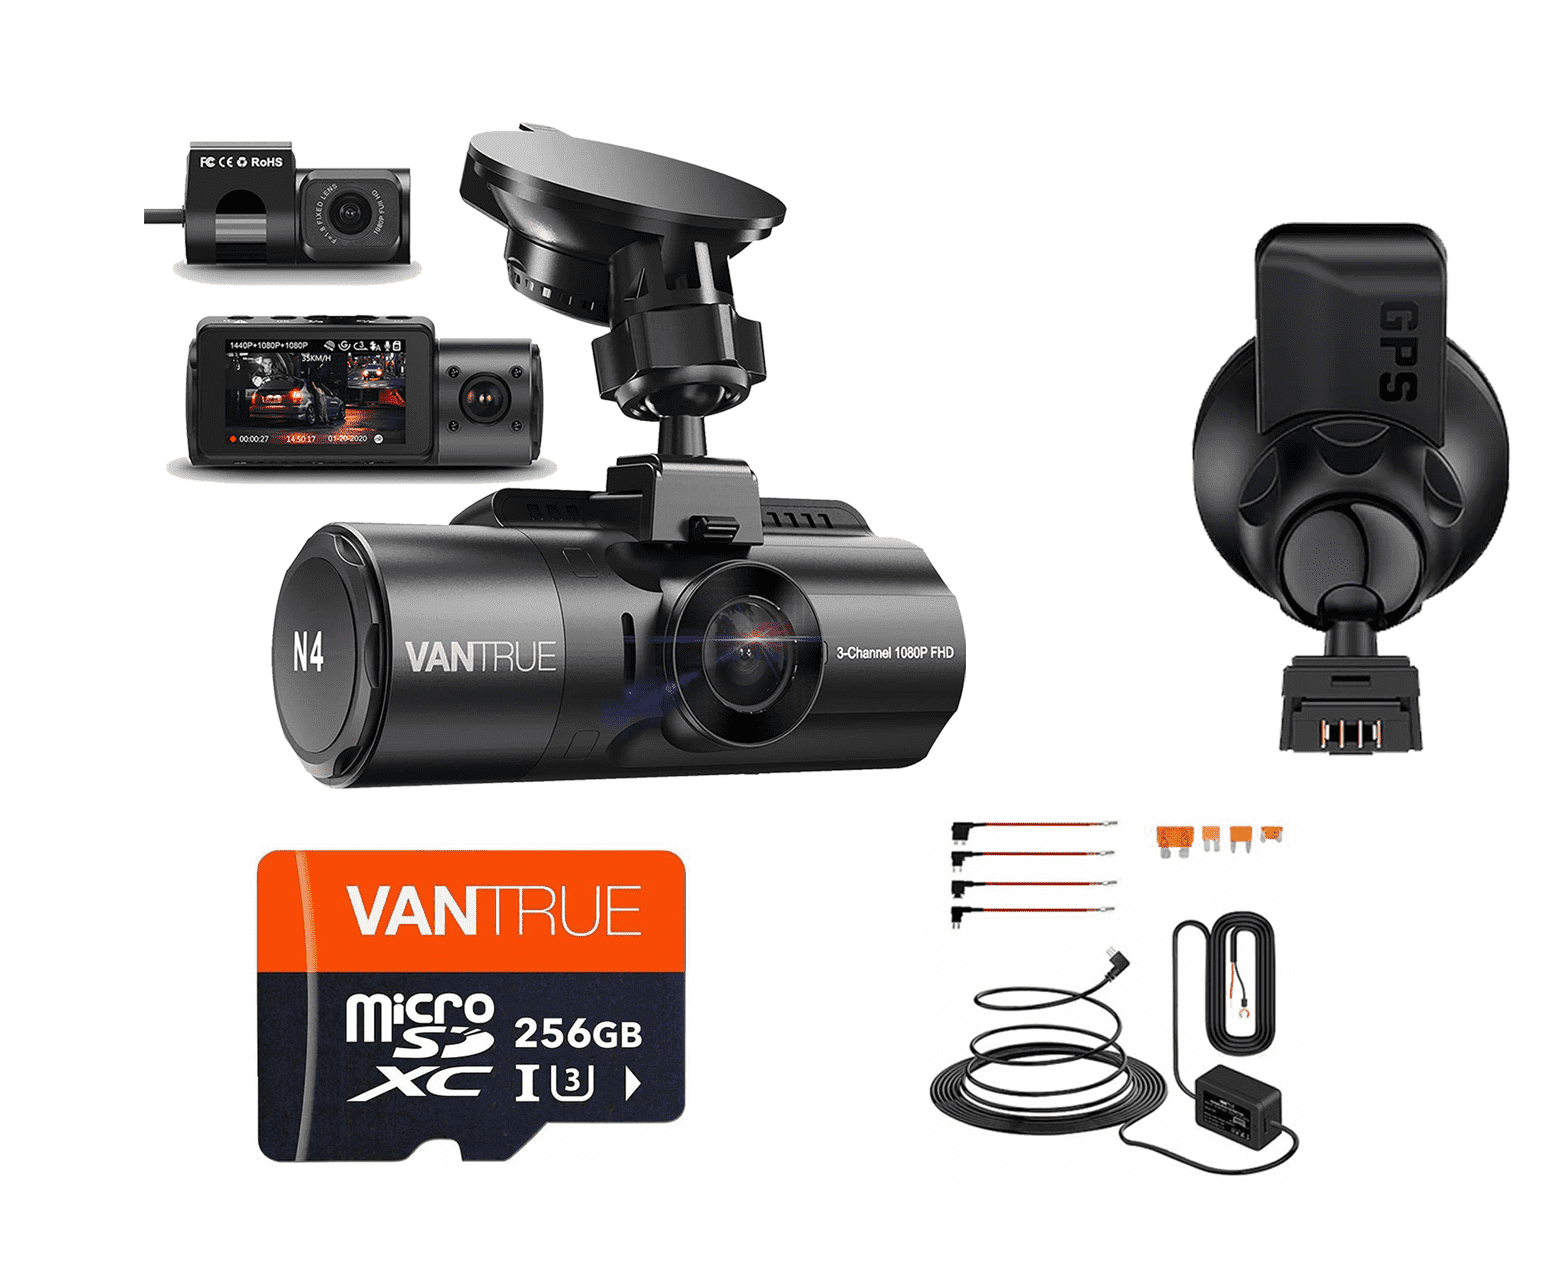
- Connect rear view camera (for multi-channel systems)
- Connect hardwire kit (parking mode)
While connecting a single dashcam is relatively straightforward, you will need to allow a little more time for installing the rear view camera (depending on the model) and connecting the hardwire kit. We will explain the installation step by step.
The correct dashcam position
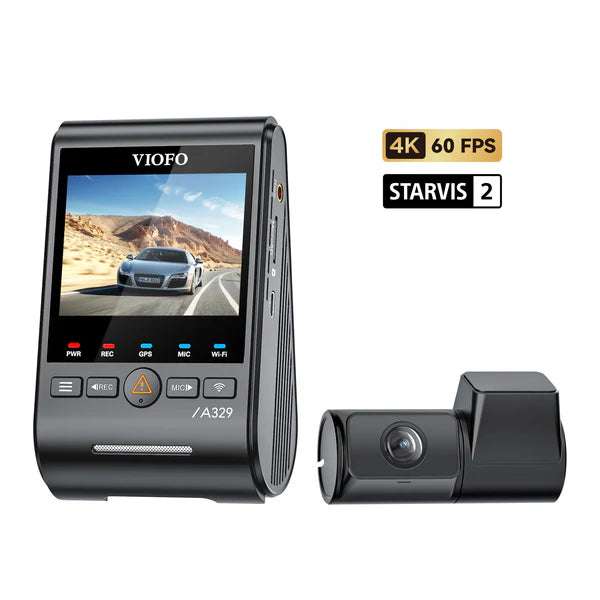
When installing a car camera, you need to make sure that the device does not obstruct your view while driving and that the dashcam is securely mounted. A popular position is on the windscreen behind the rear-view mirror. This way it can film everything and not distract you.
Most dash cams are attached to the windshield with a suction cup, which is usually included in the delivery. Attach the camera to the desired position and make sure that it is really secure and does not wobble. Devices that are not properly attached to the windshield can become dangerous projectiles in the event of an accident.
Connect power supply
Almost all dashcams need to be powered by the vehicle. If you run the cable directly from the camera to the cigarette lighter, it is often in the way and annoying after a while. Therefore, it makes sense to route the cables and make them disappear from view. The procedure may vary slightly depending on the car model, but the cable routing is similar in most vehicles. One option, for example, is to hide the cables under the paneling and run them invisibly to the power supply. All you need for this is pry tools for the car. With these, you can easily remove trim and panels without damaging anything.
Start at the dashcam behind the rear-view mirror and run the cable along the upper right-hand side of the windshield to the A-pillar. Behind the cover of the A-pillar, it goes down to the glove compartment. Here, depending on the vehicle, you can run the cable inside or under the compartment. Depending on whether you will be powering the camera via the cigarette lighter or a USB port in the car, run the cable to the appropriate port. In some cases, you can also use Velcro cable ties. Before you start, make a plan and see how best to route the cables on your car. Now the front camera is ready for road traffic!
Connect rear view camera
If you have a dashcam with a front and rear view camera, you will need to attach it to the back of the car. This usually involves removing the license plate and its holder. In the trunk, you can use the cable to get to the reversing light via the panel, whose cables provide power. If the camera cannot be connected wirelessly to the front camera, you will need to lay a cable to the windshield. You can use the cable ducts in the pillars and under the door sills for this. However, since there are different reversing cameras, read the instructions for your model carefully before installing.
Install parking mode (hardwire kit)
If you also want to use the dashcam to monitor the car when it is parked, you will need to connect a so-called hardwire kit. This can be connected to the fuse box in the car, which is usually located on the left in the footwell. You can find out which slot provides constant power in the fuse plan. To be on the safe side, you can also use a digital multimeter. You can connect the cable to the corresponding slot using a plug-in socket and connect it to the camera. To ensure a flawless connection, follow the operating instructions for your device carefully. If you are not familiar with it, it may be a good idea to hire a specialist to install the hardwire kit so that the car's power supply is not affected.
Time required for dashcam installation
Depending on which dashcam you install, the installation will take a different amount of time. Installing the front camera and laying the cables is relatively quick and straightforward and takes about half an hour. If you also have a rear camera and the permanent connection to the fuse box, it can take up to two hours. You also have the option of having your camera installed in a car repair shop. This saves you time, but you have to expect costs of between 100 and 500 euros.